
Before & After Post-Processing
I have had a couple requests for some before & after post-processing images. Here are some particularly drastic examples from this weekend.
Feel free to ask questions in the comments section!
Dynamic Range
All of these shots were taken just after noon so the sun was almost directly overhead, this is usually the worst time to take photographs. It causes a HUGE dynamic range that cameras just cannot resolve. When working in Adobe Camera Raw (ACR) I use the fill light slider to bring back some detail in the shadows and the recovery slider to recover some of the details in the highlights.
White Balance
Another adjustment made was warming the white balance a bit to get rid of the blues in the shadows, this has the added benefit of warming the highlights too, making it appear as though the photo was taken later in the evening.
Enhancing the Sky
One trick I learned recently was how to make the sky pop! The trick is to reduce the luminosity and increase the saturation of the blues. This will darken the sky if it is a little overexposed. Note: this will not work if the sky is completely blown out (overexposed).
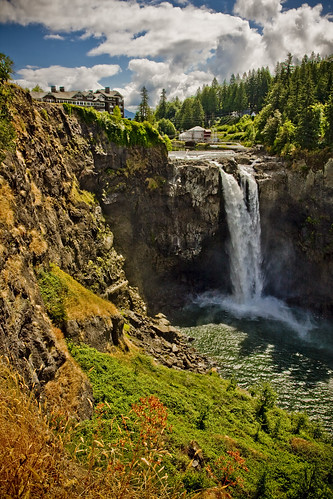
Enhancing the Waterfall
In order to bring out the waterfall a little I opened the image up in Photoshop CS4 and used the dodge tool set to highlights (at around 10%) and drew over the top of the falls.
Vignetting
Another option I've been toying with lately is adding vignetting to my photographs. It is very easy to over-do this option so be careful here.
"The View From Above"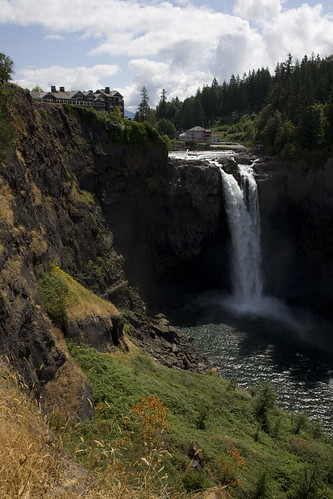
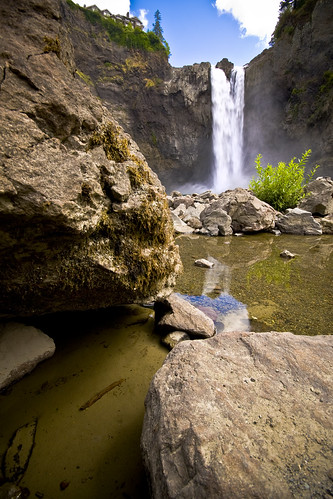
"Through the Nooks and Crannies"
"End of the Trail"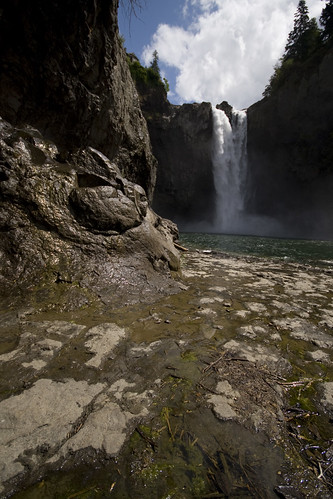


1 comment:
WOW what a difference! I am truely impressed.
Post a Comment