Wednesday, July 28, 2010

Feedback?

I haven't forgotten! I'm just busy right now...

I would like to get some feedback from some photographers on what they'd like to see here. Here are some ideas on possible posts in the near future:


  • How night photography (noctography as I like to call it) helps you learn faster
  • Multi-part tutorial series on night photography (noctography). From gear, to shooting, to general post-processing
  • Tutorial on using Viveza 2
  • A "What's in my bag?" post discussing my gear and the reasoning (or lack thereof) behind having it
  • Review of the Sigma 12-24mm f/4.5-5.6 EX DG IF HSM
  • Multi-part series on how to use weather tools to catch the right scene

Of course there are many other possibilities and at some point I'll probably hit all of these topics, but for now I'd like to know what YOU want to read about!

Cheers for now!

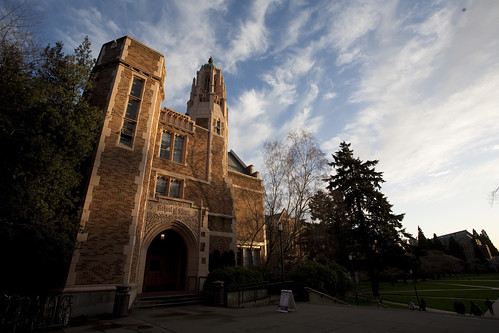
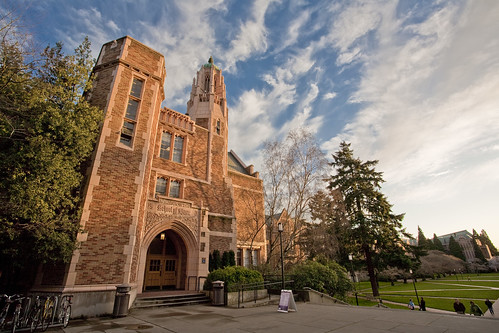
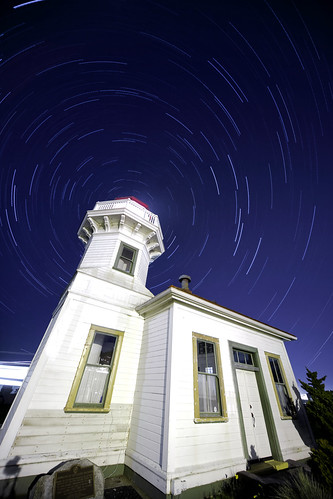
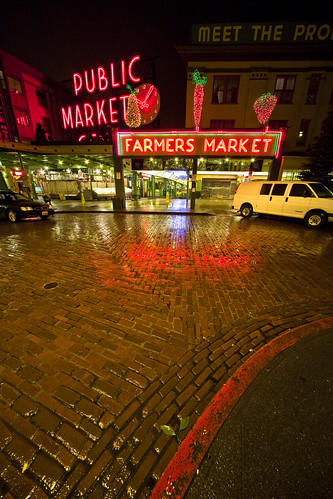
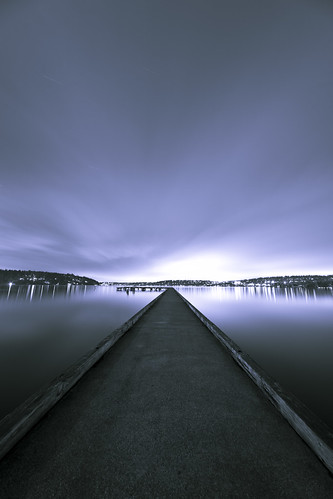
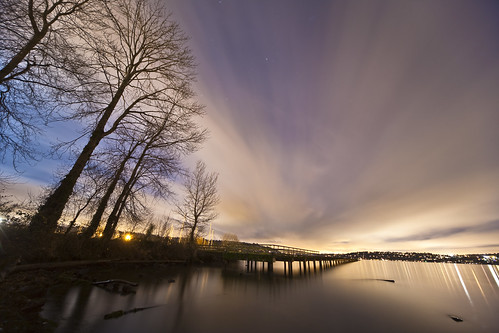
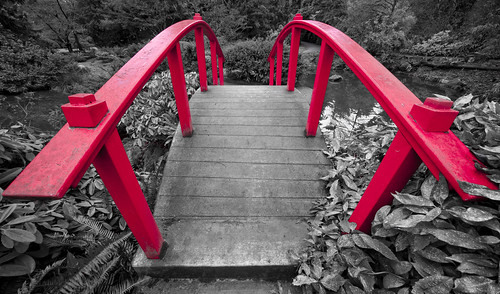
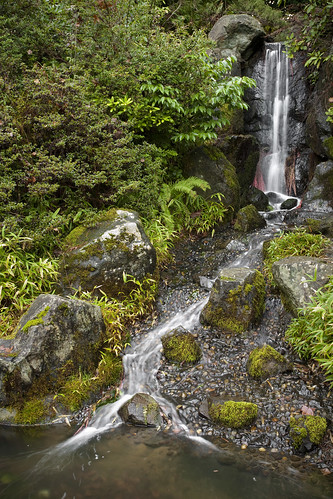
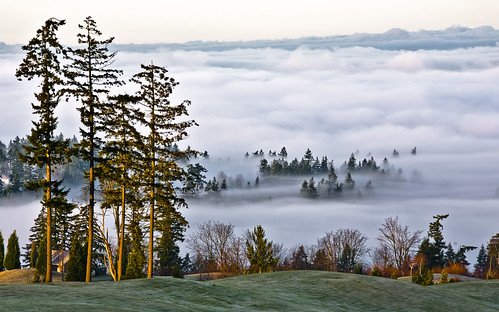
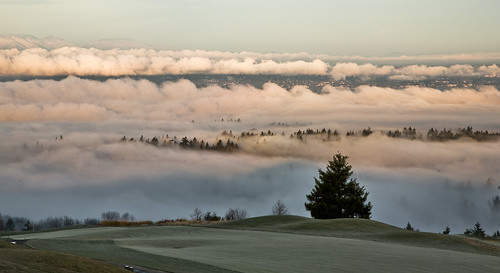
Crowning Jewel - from my most recent photography outing

Friday, July 23, 2010

Back by popular demand!

It's been forever since I've blogged and I've had a lot of great learning experiences in the past few months that I'd like to share. In the coming weeks/months I hope to post several new reviews, tutorials, and trip logs.

In the meantime, if you live in the Pacific Northwest and are on Facebook I would encourage you to stop by our new photography group PNW Photography. We are constantly planning photography outings and trips, and the more the merrier!

Stay tuned!

Thursday, February 25, 2010

Making a Photograph using Adobe Camera Raw and Viveza 2

Photography is much more than taking the shot these day with the advancement of digital camera and post processing software. I want to show you how you can transform a seemingly useless shot into something great using Adobe Photoshop CS4's Camera Raw (ACR) and Nik Software's Viveza 2 plug-in.

First we'll start with our photograph straight out of the camera.

_MG_8300 copy_SOOC.jpg

As you can tell this is a very high contrast scene with potentially a lot of detail in the highlights. When I took this shot I was very careful not to overexpose the highlights because that is where much of the interest in the image lies. You can view this on most dSLR's by enabling the histogram view when you're in playback mode. The shadow regions are indicated on the left while the highlights are on the right. You can see the histogram for this photograph as shot in the first panel below.

Here we have screen shots from the sidebar in ACR. The panel on the left shows where the sliders are by default under the first tab (which is where 90% of your adjustments will happen). The right panel shows the same sliders with the adjustments I made. Some of these changes are made to even out the image, for instance increasing the Recovery brings out some detail in the highlights, increasing Fill Light increases the detail and brightness in shadowed regions. I also warmed up the image by moving the Temperature slider to the right (this image was taken shortly before sunset). Finally I increased the Clarity and Vibrance to give the image a little more pop.

before.pngafter.png

Next we have the sliders from the second tab. Again before is shown in the left panel. Here I have increased the contrast between the highlights and the lights enhancing the appearance of the clouds. I've also increase the brightness of the darks to bring out a bit more detail in the shadows.

before2.pngafter2.png

Saturation Tab - giving the sky and grass a little boost.
beforesat.pngaftersat.png

Luminance Tab - reducing the luminance of the blues really helps to bring out a nice rich blue sky that can sometimes make the image look as if a polarizing filter was used.
beforelum.pngafterlum.png

Here is the result of these edits in ACR.
Mouse over the image to see the unedited image.

_MG_8300 copy_ACR.jpg

Now we'll open this image in Viveza 2. Here I applied a slight structure and warmth enhancement to the entire image. I then added a control point in the sky and further enhanced the structure in the sky. I added a second control point near the door and enhanced the brightness. A third control point was placed in the grass where I also increased the brightness. A final control point was placed in the lower right region of bright cloud where I reduced the brightness slightly so it did not over power the image.

These type of selective edits are very quick and easy in Viveza 2. The same could be done with layer masks in Photoshop but much more time, effort and patience would have been required. I highly recommend trying the free 14-day trial version of Viveza 2 if you are using Photoshop, Lightroom or Aperture.

Here is the result of these edits in Viveza 2.
Mouse over the image to see the imported image.

School of Music

Just for final comparison here is final result compared with the initial image.
Mouse over the image to see the unedited image.

School of Music

Sunday, February 21, 2010

Mukilteo Lighthouse

I really had an itch to get out last night and shoot a startrails image because it had been quite some time. I decided that the Mukilteo Lighthouse was a good candidate. I was very pleased with the results. The image is made up of 20 exposures with the following characteristics:
Canon 5D
Sigma 12-24 @ 12mm
3.5 min., f/4.5, ISO 50

Mouse over image to see a single unedited photo

Mukilteo Lighthouse Startrails

New Flashes

A couple weeks ago I picked up to used Vivitar 285hv flashes and have had a great time experimenting with them. Many of my latest photos have employed the use of them including one of my new favorite photos. Melissa got her hair trimmed and dyed a few days ago and wanted some photos taken, I took that as an opportunity to also use the flashes in a creative way. This photo uses just one 285hv pointed at the wall behind a white sheet to get a nice silhouette.

Move you mouse over the image to see the unedited image.

Rockstar I

Tuesday, January 05, 2010

Aimless Driving

It was rainy/misty, cloudy and chilly last night but I decided to go out anyway and try to capture SOMETHING. I drove around for a bit until I ended up at the Space Needle where the lights on the Needle illuminated the passing clouds very nicely. I only had one shot to get this before my lens was speckled with mist.

Light in the Clouds
Light in the Clouds

I left the Space Needle and drove around downtown more until I came across the Seattle Public Library. It's a gem of a building, and at night it actually looks like a gem.

Seattle Public Library

SPL Structure
SPL Structure

I finished the night off by heading to Pike Place Market, which is really quite cool looking at night.

Pike Place, After Hours

Sunday, January 03, 2010

Happy New Year

Yesterday I received my Sigma 12-24mm lens to pair with my 5D. So last night I met up with Kelly, Ed and Tommy at Gasworks Park for some night photography. This lens is SO WIDE!

_MG_7102.jpg

_MG_7099.jpg

Afterward I went over to Log Boom Park and took a couple shots.

Steely Night
Steely Night

_MG_7105.jpg

Today I went over to Kubota Garden south of Seattle, I had never been there. It was very nice, but it'll be great during the spring and summer.

Moon Bridge

Kubota Garden

Monday, December 28, 2009

I love Seattle!

I went to the Jose Rizal Bridge last night just after sunset. I met another photographer, Raj, there and we walked down and through a hole in the fence that separates the dog park and the freeway so we could get a closer and slightly different view from this wonderful location.

This is the last image taken with my buddy's 5D, now I am just waiting to sell my 40D and 17-55mm lens so I can get myself a new camera!

Dusk
Dusk

Sunday, December 27, 2009

Above the Inversion at the Newcastle Golf Club

On Christmas Eve I got up at about 5am so I could drive out to North Bend and hike up to the top of Rattlesnake Ledge because there was a nice temperature inversion. If there is enough low-level moisture, this is often a recipe for a low layer of clouds and fog. Last January some friends and I hike up Rattlesnake Ledge and were treated to a spectacular sunset above the inversion.

This year I was hoping to catch sunrise. However the inversion layer was much shallower than I thought and it only extended east to Issaquah. So I drove around the Sammamish Plateau and then Cougar Mountain trying to find someplace at the right altitude with a view. I was about ready to give up when I found the Newcastle Golf Club. This place has a SPECTACULAR view! I really don't know if I was supposed to be there (there was a sign that said golfers only where I was shooting) but the grounds keeper didn't ask me to leave (in fact he asked for my business card, which I had).

I was also shooting with my buddy's Canon 5D, he let me borrow it since I am in the process of moving to a full frame camera.

You can see (and order) them all here. Here are a select few:

Mixing Out
View Larger

Sunrise Above the Inversion

Above the Inversion

Newcastle Golf Club

Slanted Cloud Deck

And in this image you can see some nice Kelvin-Helmhotz waves!
Kelvin-Helmhotz Waves at the Inversion
View Larger.

Saturday, December 05, 2009

Zenfolio Site (for ordering images) Launched!

I've created a Zenfolio site where people can now order both prints and framed art from! It is set up so that you can order a print (or framed art) in the size that you want and it will be printed by Mpix (one of the highest quality online photographic printing companies) and they will ship it to your door!

As time goes on, the site will be updated with some of my more recent photos while older ones will come down so it won't get too cluttered.

It is also now linked with a slightly updated reidwolcott.com.

Just in time for the holidays too! Happy shopping at reidwolcott.zenfolio.com!